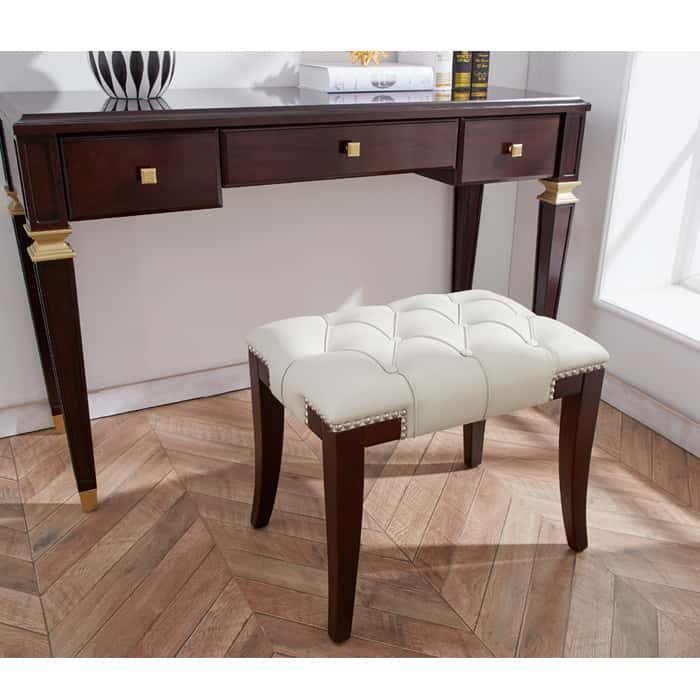
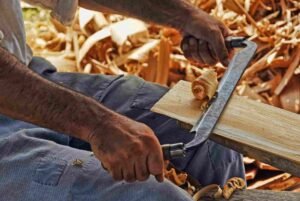
There is a saying in the wood furniture industry, called “three-point craft, seven-point guy” and there is a sentence called “the painter who wants rice, the carpenter who moved.” The first sentence is that the importance of tools is more important than craftsmanship. The second sentence is that there are so many tools for woodworking, just like moving. In addition, the first half of the sentence does not mean that the painter is poor, but that the painter works, only need to hang a bucket on the neck, and then take two brushes, just like a meal. I don’t want to say that there are twenty or thirty kinds of planes used for traditional woodworking and planing wood. What is leveling, clean, slotted, and lace.

The Custom furniture production process as below:
1.Material Preparation
1.01. Wood drying: The Need to control the moisture content of wood in 8%-10 %, so as to make the dried wood is not prone to cracking deformation phenomenon;
1.02. Balance: leave the dried wood for a period of time to restore its balance
1.03. Material Selection: According to the furniture design drawings and all parts of the required materials, materials selection. Wood products materials can be divided into external materials and internal materials and dark materials 3 kinds. The exterior materials are exposed, the interior materials are used inside the product, such as the inner shelf and the floor, and the dark materials are the parts that can not be seen under normal use, such as the drawer guide, the package panel, etc.

1.04. Rough Planer: the selected wood wool according to a certain thickness of the surface cutting treatment, so that the board surface level;
1.05. Wind Shear: to rough planed board trimmed length, trimmed to reserve the length of the 20mm value, to prevent material loss;
1.06. TRIMMING: After the first 5 steps are completed, the burrs or burrs that can not be used on the blank can be cut off
1.07. Matchboard: Because Solid Wood furniture is made of board, when assembling, choose wood grain as far as possible, color is consistent, color difference is not big put together, match consistent (match board width according to need width reasonable put allowance) ; Then the inner parts of the broken, broken, scarred, decayed wood were removed.
1.08. Glue: Board with good, you can brush glue evenly between the Wood (Glue Ratio: Curing Agent 10-15 grams, splice Glue 100 grams, each time about 500 grams of Glue) ;
1.09. SPLICING: SPLICING machine for the use of wood, splicing attention to the height difference, length difference, color difference, etc.
1.10. Aging: This process is to let the glue solidification, placed about 2 hours can be;

1.11. Sand plane: There may be excess glue overflow when cloth glue, so also planed away the excess glue between the wood, this step is called sand plane;
1.12. Sawing set width: next use a machine or a single saw to set width according to the required width;
1.13. Quadrilateral planing: because the saw blade is cut after fixed width of the wood surface smoothness is very poor, so at this time also need to quadrilateral planing, according to the shape of the board around planing, so that the wood surface to achieve a smooth and delicate effect; This step also includes the construction of complex shapes, so you can also use a saw blade (band saw) to create the shapes on the design
1.14. Keep fit: finally, place the wood naturally for about 24 hours.
- Carpentry
When the material is ready, the woodworking part can begin. It is a process of finishing the board (turning the wood into objects, cabinets, tables, chairs, etc.).
The steps are as follows:
2.01. Matte fixed thickness: the Wood has been prepared for mechanical processing, and then sanding, coarse sand a sand 0.2 mm, planing sand a sand 0.1 mm;

2.02. Precision cutting: In fact, according to the size of the drawing to determine the length of the blank, in the process of processing need to achieve no collapse, blackening, and the length and width of the processing error can not exceed 0.2 mm, diagonals below 1 m ≤0.5 mm, diagonals above 1 m ≤1 mm;
2.03. SHAPING: Shaping Wood according to drawings. In the same way, it is not allowed to have stubble, Burr, skip knife and blackening phenomenon, the surface of the parts should be smooth and level off, check whether the screw of the parts of the equipment is loose before processing, whether the template is installed standard, whether the tool is installed and other details;
2.04. Drilling: According to the technical requirements of the drawings, drilling hole processing error shall not exceed 0.2 mm, the product to complete the drilling;
2.05. Accessories Sand Plug: that is, sanding accessories, finished products to meet the level, no sanding, consistent corner requirements;
2.06. Group set up: This step can start the initial assembly, the first will not be disassembled parts set up, the entire assembly process of glue coated evenly, excess clean;

2.07. Large Group: After the group established, into the overall assembly process, the bulk between the group established into furniture products;
2.08. Finished Sand Plug: Assembly of the finished product still need to sanding again, so that the furniture surface, seams level off, consistent corner;
2.09. Balance: The parts will be placed naturally for a period of time, so that the internal stress of the furniture to reach a state of the balance;
2.10. COATING LINE INSPECTION SAND: the surface of the workpiece needs to be completely re-polished, especially the wood surface of the micro-fiber needs to be polished off, at the same time, you can check whether there are defects (sanding bad, cracking, deformation and so on), if found in time, it can be repaired;
2.11. VACUUMING: Finally blow the dust off the surface of the work piece.
3.Coating
Finish woodworking in the last step” duster”, next can undertake to besmear coating part, besmear to the furniture itself can have a protective effect and beautify action.
The coating materials used in solid wood furniture, including paint, usually used is water-based paint, it is very environmentally friendly, do not add its chemicals, formaldehyde content is very low, cost performance is also high.

Steps for painting:
3.01. Rub Color: before the formal rub color, need to try to rub, to confirm whether the reagent is suitable; before rub color, also need to rub color, until there is no precipitation, the use of the brush must first clean, the cloth strip that wipes must be the cloth strip that does not fade;
3.02. First Degree Primer: Primer is also called Sealing Primer, spray before blowing away the dust clean, paint the process to check whether the rub color effect is good, contribute to the back paint better color;
3.03. DRYING: 6-8h after spraying;
3.04. Clean Sand: After painting the Primer, the wood itself is easily exposed, so at this time to fill all bumps and scratches, and then spray paint on the product Ah Burr scrape off;
3.05. Shading: According to the requirements of the color plate to choose the background color spraying, the color difference between the materials can be adjusted through the background color;
3.06. Second-degree Primer: In the ground color of the product again rub color again, adjust the color difference;
3.07. Dry: Then continue to dry;
3.08. Clean dust: clean the dust, first fill the defect in place, and then use sandpaper to smooth the paint surface;

3.09. Three-degree Primer: the Third Brush Color, transition color;
3.10. Drying: Continue to dry;
3.11. Sand cleaning: The last time to clean sand, continue to smooth the surface;
3.12. REPAIR COLOR: to make all the exposed colors consistent, in line with the color plate and no chromatic aberration, no leakage of Color;
3.13. Oil Sand: also known as oil film, Do oil sand is the purpose of the protruding parts of the plate burr polished smooth, into the next process;
3.14. TOPCOAT: Before Making topcoat, check whether the product is good, whether the product surface is smooth, whether the surface ash layer and the attached material is clean;
3.15. Dry: into the last time to dry, generally is about 4H.
4.packing
Before packaging, we should first check whether the overall color of the product is consistent, whether the surface of furniture paint is smooth, whether there are particles, whether the surface of the product paint is flat under natural light, etc. . If it is not easy to observe, you can feel the overall texture of the furniture directly with your hands.

The steps are as follows:
4.01. Examination
4.02. Dust Blowing
4.03. Packing
[/fusion_text][/fusion_builder_column][/fusion_builder_row][/fusion_builder_container]
